When it comes to business messaging platforms, you want to find a good balance between cost, features and security. Slack is great, but it’s a little pricey since it uses a pay-per-user model. Fortunately, there are messaging platforms that are feature-rich and won’t clean out your company piggy bank as your team grows.
Rocket.Chat is a free, self-hosted, open-source alternative to pricier messaging programs like Slack. Not only does it not impact the bottom line, it’s a secure platform that lets you control your chat history.
If you’d like to make the platform more secure, while also understanding what the application and all of its pieces are doing, you can try this method to deploy Rocket.Chat without using Docker on CentOS 7.
Install Requirements
1. Add MongoDB Repository:
sudo vi /etc/yum.repos.d/mongodb-org.3.2.repo[mongodb-org-3.2]name=MongoDB Repository baseurl=https://repo.mongodb.org/yum/redhat//mongodb-or/3.2/x86_64 gpgcheck=0 enabled=1
2. Rocket.Chat used Meteor, which requires Node.js version 0.10.40 or greater. Currently, the most recent version of Node.js available via the package manager is 0.10.36, so it will instead need to be installed manually.
wget https://nodejs.org/dist/v0.10.40/node-v0.10.40-linux-x64.tar.gzsudo tar -C /usr/local --strip-components 1 -zxvf node-v0.10.40-linux-x64.tar.gz
3. Install Additional Requirements
sudo yum install -y epel-release sudo yum install -y nginx wget GraphicsMagick-devel curl mongodb-org
4. Make SELinux permissive (if you want to, otherwise go through the difficulty of opening ports for MongoDB):
sudo vi /etc/selinux/config
change
SELINUX=enforcing
to
SELINUX=permissive
5. Restart for the SELinux changes to take effect:
sudo reboot
Configure MongoDB
sudo service mongod start
1. Ensure that MongoDB is set to run on system restart:
sudo chkconfig mongod on
Optional: Configure the MongoDB replica set for Meteor.
This step will make the MongoDB oplog available to Meteor. By default Meteor continuously polls MongoDB looking for changes. The oplog allows Meteor to track receive relevant changes as they happen instead of polling. In most situations enabling the oplog will result in increased performance.
2. Add the replica to the MongoDB configuration file:
vi mongo.conf
3. Update the replication section to read:
replication:replSetName: "001-rs"
4. Start the replica:
mongo> rs.initiate()
Install Rocket Chat
1. Download the latest version of Rocket.Chat:
curl -L https://rocket.chat/releases/latest/download -o rocket.chat.tgz
2. Untar and move it to its base directory:
tar -xzvf rocket.chat.tgz mv bundle /usr/local/Rocket.Chat
3. Install:
cd /usr/local/Rocket.Chat/programs/server && /usr/local/bin/npm install
4. Run the app:
/usr/local/bin/node main.js
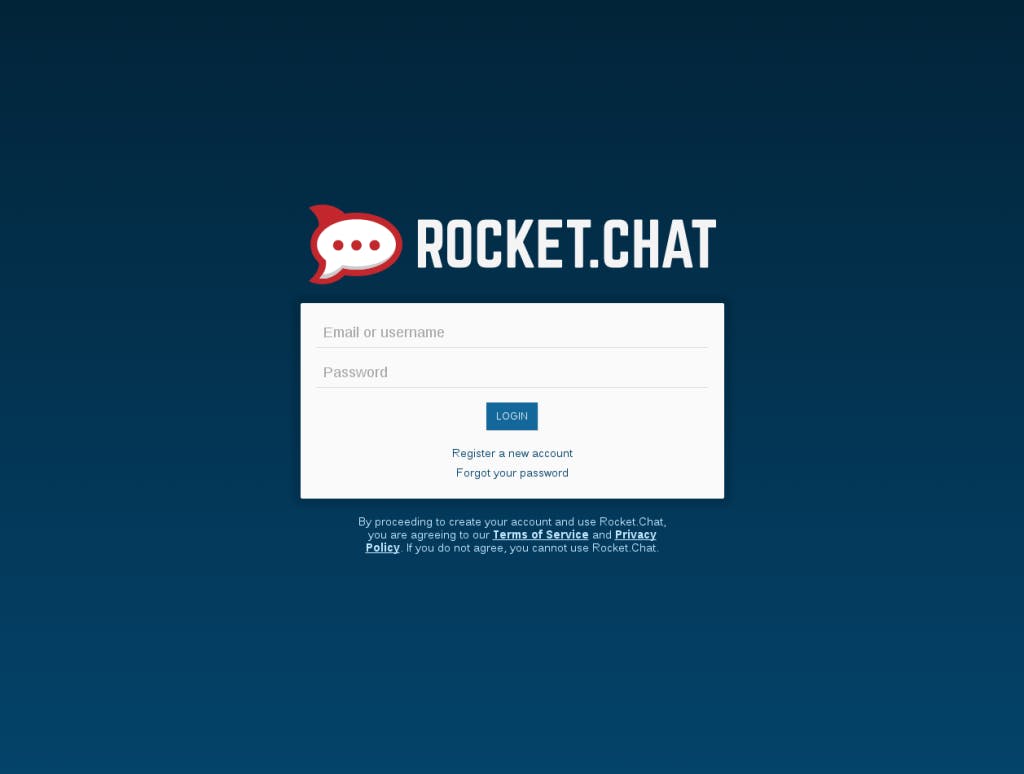
The login page should now be available at http://localhost:3000/.
Get Rocket.Chat Running with a Process Manager
1. Install the process manager (pm2):
sudo /usr/local/bin/npm install -g pm2@latest
2. Start Rocket.Chat manager using the process manager:
Rocket.Chat requires three environment variables to be set: ROOT_URL, MONGO_URL, and PORT. If you chose to enable the MongoDB replica set MONGO_OPLOG_URL is also required. The easiest way to set these variables is to include them in the command. This will ensure they carried over on restart.
sudo ROOT_URL=http://localhost:3000/ MONGO_URL=mongodb://localhost:27017/rocketchat PORT=3000 MONGO_OPLOG_URL=mongodb://localhost:27017/local pm2 start /usr/local/Rocket.Chat/main.js
3. Add init scripts for pm2 to allow app to start on startup:
sudo pm2 startup centos
Should output text that will tell you to run:
su -c "chmod + /etc/init.d/pm2-init.sh; chkconfig --add pm2-init.sh"
Put Nginx in Front of Rocket.Chat
While putting Nginx in front of the application is not necessary, it will allow you to easily make your site secure in the future. Until you’re ready to add ssl to your application, it’s easy to setup nginx to forward requests to your application.
sudo vi /etc/nginx/nginx.confserver {\tlisten 80;\tserver_name _;\troot /usr/share/nginx/html;\tlocation / {\t\tproxy_pass http://localhost:3000;\t\tproxy_http_version 1.1;\t\tproxy_set_header Upgrade ;\t\tproxy_set_header Connection “upgrade”;\t\tproxy_set_header REMOTE_ADDR ;\t\tproxy_set_header X-Forwarded-For ;\t\tproxy_set_header Host ;\t\tproxy_set_header X-Real-IP ;\t\tproxy_set_hader X-Nginx-Proxy true;\t\tproxy_set_hader X-Forward-Proto http;\t}}sudo systemctl restart nginxThe login page should now be available at http://localhost/.
Add Your First Admin User
1. Create a new user via the UI. Add admin role to newly created user in MongoDB:
mongo> use rocketchat> db.users.update({"username": "YOUR USERNAME HERE"}, {: {"roles": {"__global_roles__": ["admin"]}}})
Finally, you should see the Rocket.Chat login page. Now you’re all set to get chatting for free!